Getting Started
To use Zoom, you’ll need to install an app on your computer or mobile device and login via SSO using your TAMUK Login. We recommend doing this before you host or join your first meeting.
Quick Links:
Install Zoom and Sign-in via SSO on Your Computer
Install Zoom and Sign-in via SSO on a Mobile Device
Access Zoom from a Web Browser
Activate Zoom @ TAMUK
First time users of Zoom at TAMUK should sign-in to get your account created. Then you will be able to use the stand alone client or Blackboard Learn integration as needed. After your first time sign-in you will be able to sign into the client or apps directly. If you have done this already, you can skip these steps.
Step 1: From your web browser of choice (Google Chrome recommended), go to https://zoom.tamuk.edu.

Step 2: Click on "Sign-In".

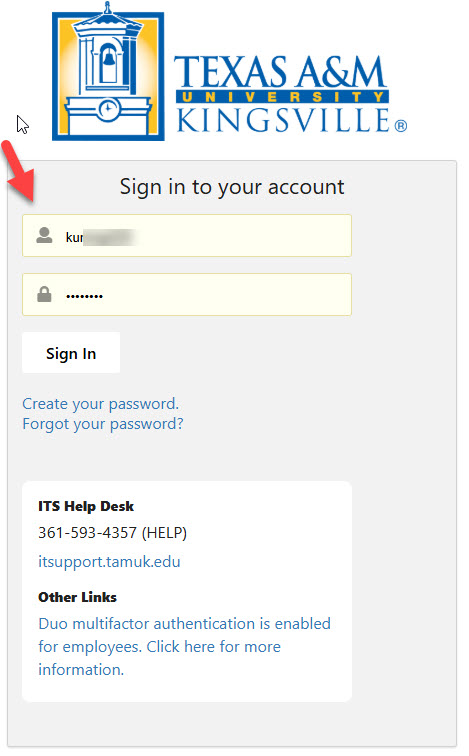
Step 3A: You will be taken to the University's sign-in page. Here you put in your University's credentials. For example; Username: kuabc123 / Password: Your current password. These are the same ones that you use for Blue & Gold and to log in to your computer at work.
Step 3B: If you are merging a zoom personal account that was using your TAMUK e-mail address. You will have some additional prompts and an e-mail to confirm your migration. See the additional info under the FAQ section of these guides.
Step 4: You will be taken to your zoom profile page. If you see details such as your account number and personal meeting ID. Also, add your first / last name and other details while you are here.
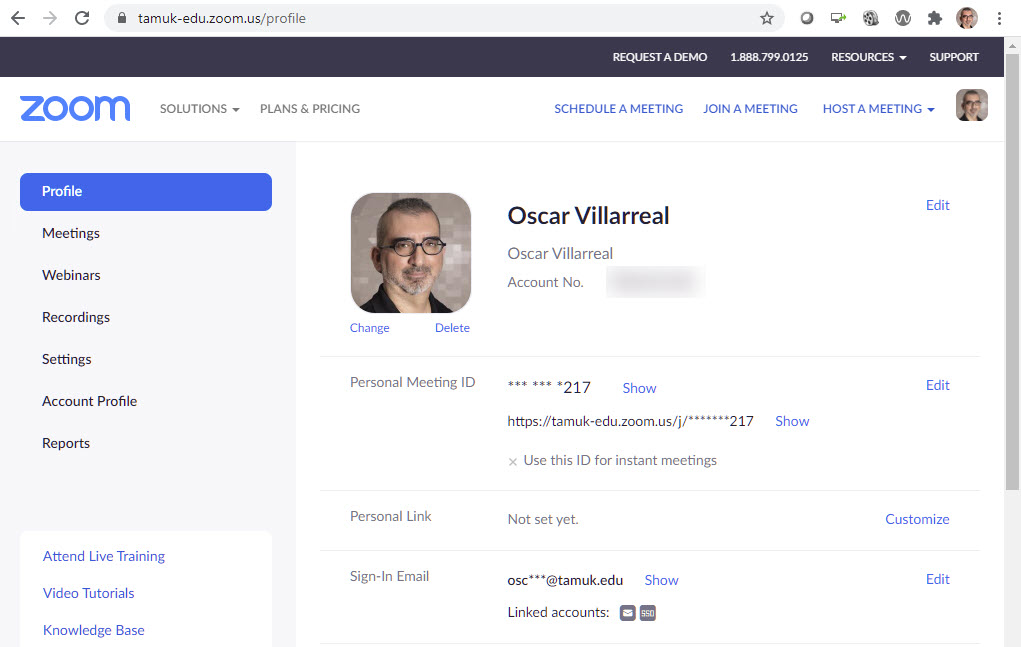
Step 5 (Optional): You might want to upload a profile picture while you are here. If so, click on the "change" option underneath your default profile picture. Done!
That's all you have to do to activate your account. Now you can continue to the next steps to get the Zoom client installed on your computer, set up your Outlook plugins, etc.
The Zoom desktop client for your computer is essential to be able to join and host meetings that you need to create or attend. Follow the steps below to find the installation files.
Step 1: From your web browser of choice (Google Chrome recommended), go to https://zoom.tamuk.edu.
Step 2: From the bottom of the TAMUK Zoom portal, look for the link named "Download Client" Click on it or follow https://tamuk-edu.zoom.us/download.
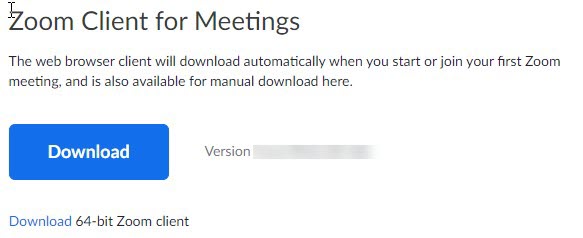
Step 3: From the Download Center. The first download you should see is called "Zoom Client for meetings". Click on the blue download button to save the file and begin the installation after it downloads. If you have Zoom installed from a previous occasion, you can skip Step 3.
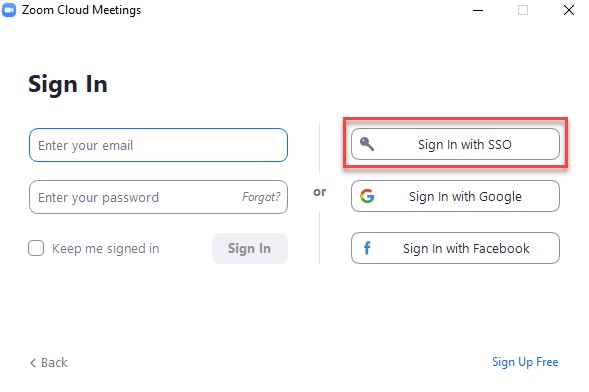
Step 4: First time installations will be shown a "sign-in" screen. If you are signed in with a personal Zoom account, please sign out if you want to use your University account. Choose "Sign in with SSO".
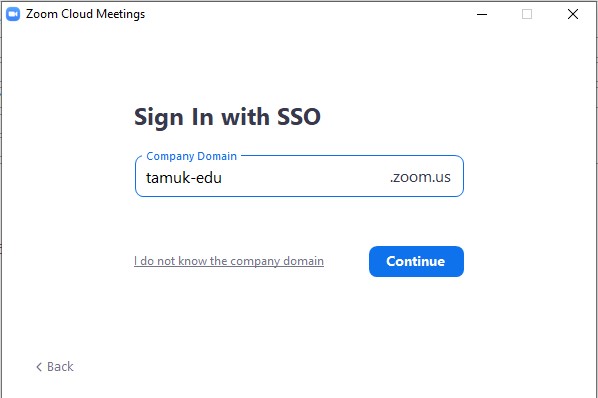
Step 5: When prompted to "Search for company domain" choose the option "I know the company domain". For the company domain; please enter: tamuk-edu. It will appear as tamuk-edu.zoom.us. Click Continue.
Step 6: Routinely, you will be taken to the University's sign-in page. Here you put in your University's credentials. For example; Username: kuabc123 / Password: Your current password. These are the same ones that you use for Blue & Gold and to log in to your computer at work.
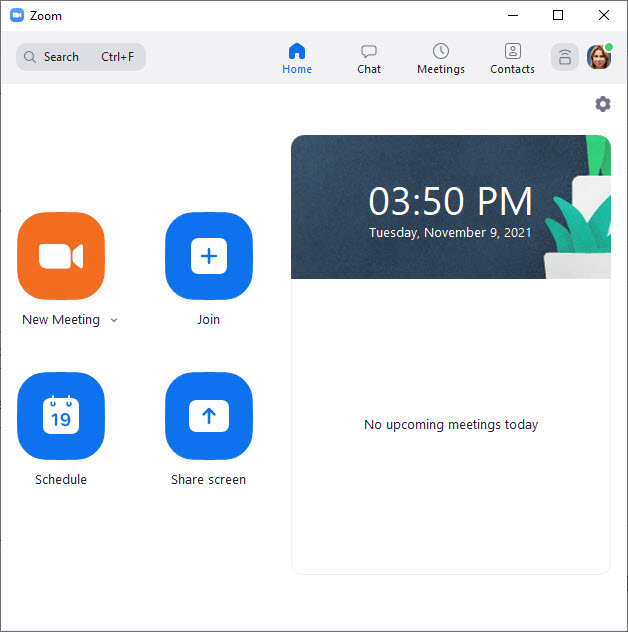
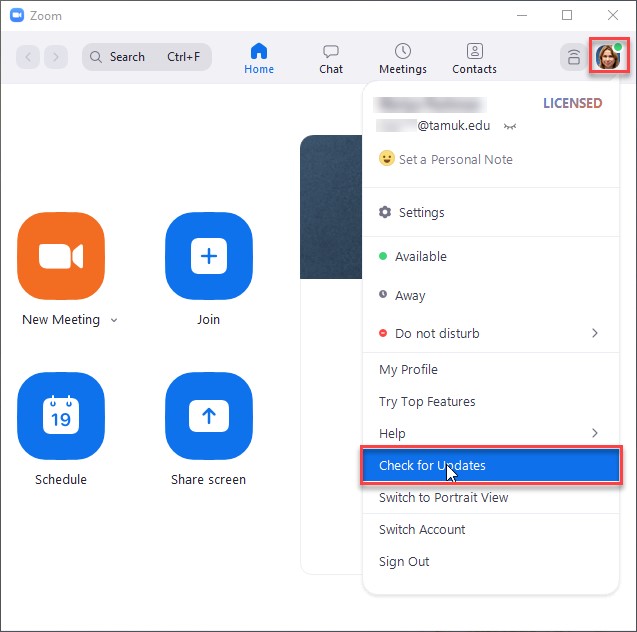
Step 7: After a sign-in Zoom desktop client (see below, Home tab open) will be available to you.
Note: Do not forget to check for and install Zoom desktop client updates.
Getting Started - Desktop (zoom.us)
Step 1: On your mobile device, navigate to the app store compatible with your device: Google Play store for Android users or Apple's App Store for iOS users.
Step 2: Download the Zoom Cloud Meetings app.
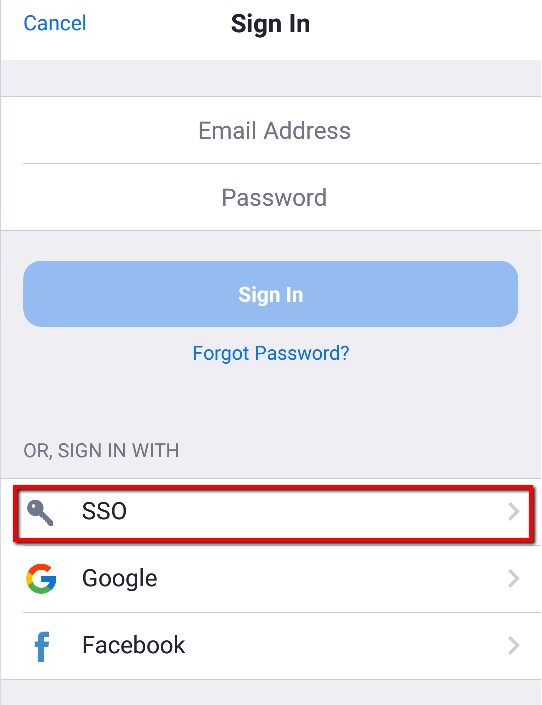
Step 3: Once the download has completed, open the app. Select Sign In from the offered on the Intro screen option. On Sign In screen Select the SSO option at the bottom of the screen.
Step 4: Type in tamuk-edu for the company domain field, and click Continue.
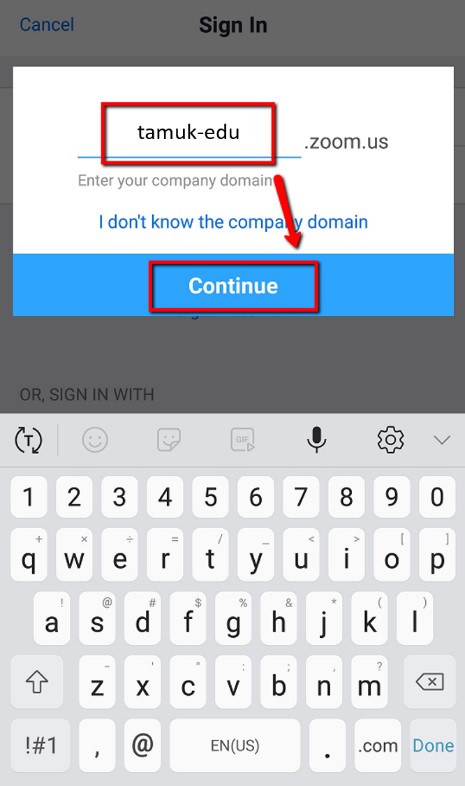
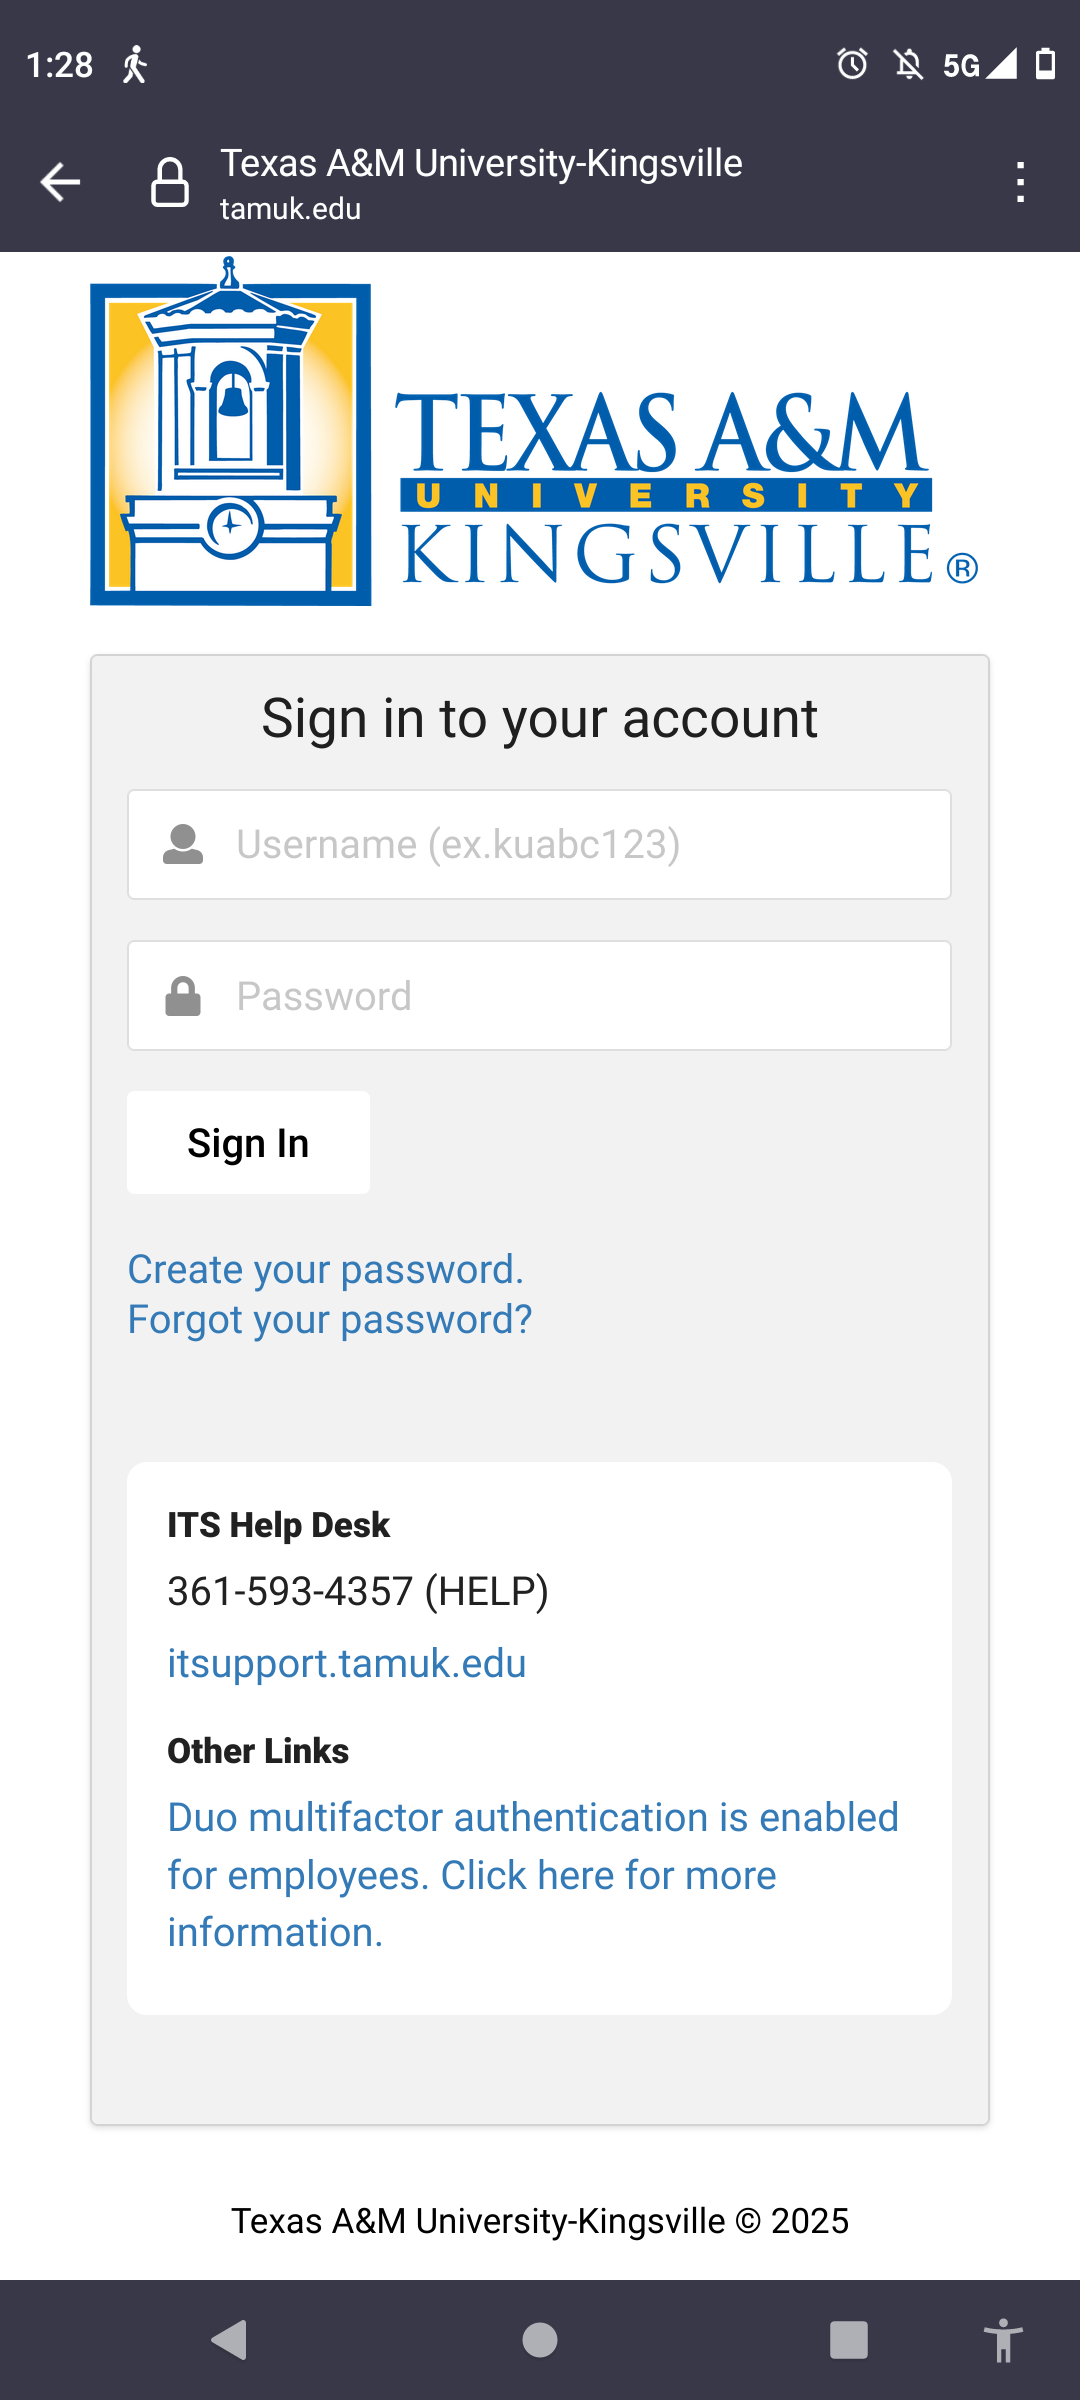
Step 5: You will be taken to the University Sign In page. Here you input your University’s credentials.
Step 6: You will now see the Zoom app’s home page. The app has been successfully installed and you have been authenticated.

Getting Started - Mobile (zoom.us)
Step 1: From your web browser of choice (Google Chrome recommended), go to https://zoom.tamuk.edu.
Step 2: Click on "Sign-In".
Step 3: If not previously signed-in; you will be taken to the University's sign-in page. Here you put in your University's credentials. For example; Username: kuabc123 / Password: Your current password. These are the same ones that you use for Blue & Gold and to log in to your computer at work.
Step 4: You will be taken to your zoom "My Meetings" page. Here you can get details about your previous meetings and meetings set for the future.
Step 5: When you return to the TAMUK Zoom Portal you also have the option to "Join" and "Host" a meeting as well. We would advise that you have the Zoom client installed on your PC prior to using those features just as a convenience.